

Today sees the second round of January project posts from the Emerald Creek DT and they are all about the new products Kim will be introducing at Creativations (formerly known as CHA) tomorrow! (There will not only be a lot of awesome new products to check out at her booth but also some of my projects I made for Emerald Creek, which makes me a very proud and happy bunny! Yay!)
One of the most impressive new goodies are the lovely gemstones Kim sent me - and I knew immediately what I wanted to create with them.


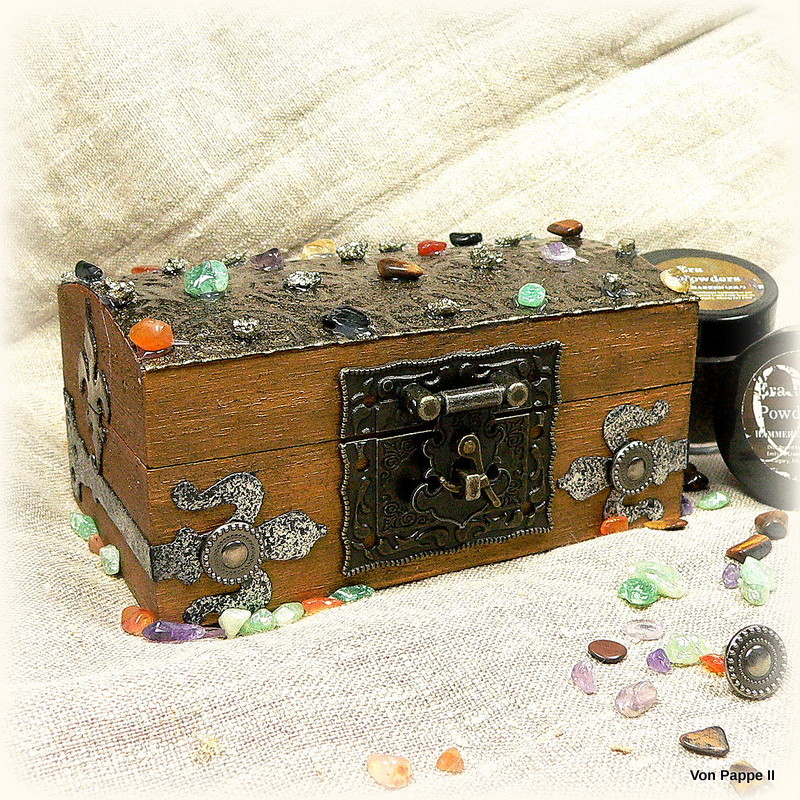
So I decided to create my own little treasure chest using the lovely gemstones and Emerald Creek's fab embossing powders!

But let's start from the beginning...lol.

I dry embossed a piece of black cardstock using a Spellbinders embossing folder and my Sizzix. Then I painted the embossed card and the balsa wood box with DecoArt Venetian Gold Dazzling Metallic paint.


I also die cut two metal fittings from black cardboard and heat embossed these with Emerald Creek Hammered Metal embossing powder.


Then I glued on the closure and the other pieces.

I added two of the new Emerald Creek Circle brads to the metal fittings. As the balsa wood is quite soft I just had to poke a hole first with a pokey tool and then insert the brad.

The gemstones were fixed to the lid using a hot glue gun.

Voilá!

Some close ups:


Inside the box the balsa wood is still in its original state - so you can see what a little bit of paint and media can do to turn something new and boring looking into an aged looking artefact... ;)

I love the look of the gorgeous gemstones against the Charred Gold!

If you want to find out what my teamies have used the gemstones for, simply hop over to Emerald Creek Dares and check out their makes too! I hope you like my treasure chest (and the CHA projects if you happen to stop by Kim's booth during the next days ;)!!!

Thanks for visiting and
hugs and happy crafting!
Claudia
xxx


Your box is so 'old worldish' Claudia - beautiful. Love the Venetian Gold Metallic with the black antiquing cream - wow. And your "metal" really does look like metal. Great creativity! I think royalty would love it! j.
ReplyDeleteLove your treasure chest!! Always inspired by the old world/vintage feel I see in your projects Claudia!
ReplyDeleteClaudia, I can definitely see how you were inspired by those jewel encrusted artifacts! And your box is amazing! I love the close ups, especially the one where you are holding the box--it shows how tiny this is! Wow! I thought you just got chunkier pieces of stone than I did! Ha! Ha! The powders look fantastic as if it were real metal! I'm so envious your stuff got to go to CHA, even if you couldn't fly 1/2 way around the world to be there in person! Sending hugs!
ReplyDelete